
The first and easiest change to make your trike more hill-friendly is to replace the crankset with a mountain bike 22/32/44 tooth triple and 150mm length cranks. The 22 teeth low gear will drop your gear inches (GI) to about 14 for 20” rear wheels and 18 for 26”. It is probably not enough – but it is a good start. The shorter cranks will make riding easier, save your knees and, against logic, do not make riding any more work.
The hardest part of the search will be the shorter cranks. Here is an example from Amazon to prove it is possible. I search for “22T crankset 152mm”. Most are steel for long life and not very expensive.
The Tools You Need

Much of the work you will do on your trike will need one unique tool or another. Fortunately, traditional cyclists require the same tools, and many moderately priced sets are available. As an example, here are some from Amazon.
Search for “Bicycle tool kit” on your local Amazon, eBay or another preferred site. Most are not the heaviest of duty, but I have found that they wear well enough for everyday usage. My set, photographed here, has been used for over a decade.
Removing the Old Crankset
Different bottom brackets require various specialist tools. Most kits will have what you need.


For a square taper bottom bracket, you must first remove a locking bolt using the appropriate Allen key. You will find a crank puller in your toolkit- a threaded pin inside an outer sleeve—the sleeve screws into a thread on the crank. Use the same Allen key as above to screw in the nail, pushing the crank from the tapered shaft. It is as easy as pie.
Changing the Bottom Bracket to Square Taper

You will need one if your trike does not sport a square taper bottom bracket. The cost is minimal.
Fortunately, most bottom bracket shells for recumbent trikes are ISO standard internal threads. These are also called BSA or English threaded bottom brackets. If your trike does not have this type of shell, you will need to see if your local bike shop can help.
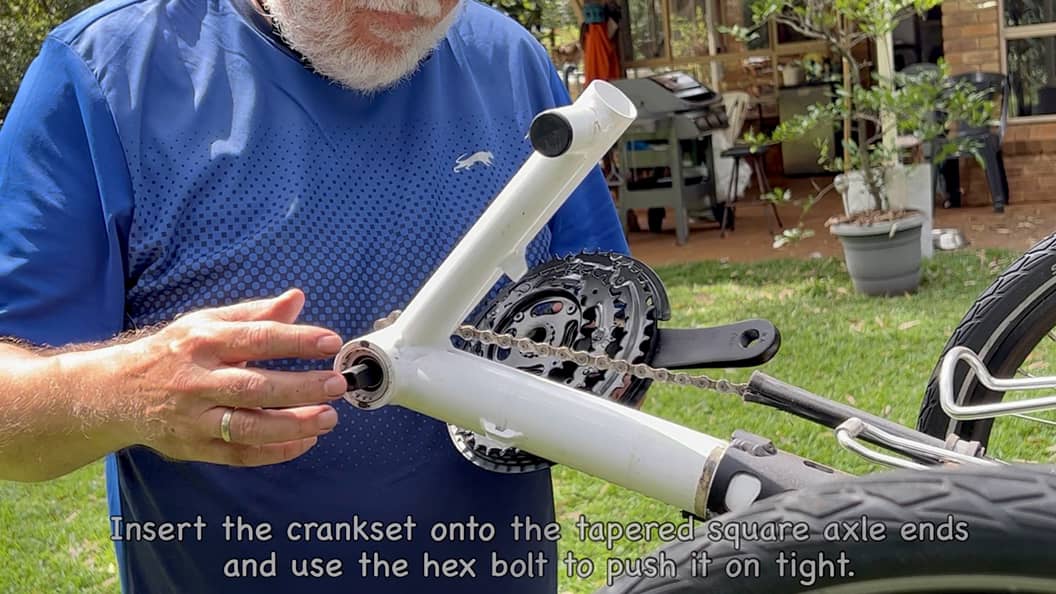
Installing the New Crankset
No special tools are required for this operation – just an Allen key of the correct size. The cranks can go on four ways – pick the opposite for the two sides. One other trick for new players is forgetting to hang the chain over the bottom bracket shell before starting. It is not a show stopper, but it is much easier to pull the chain over the smallest chainring than over the complete assembly from the outside.
Continue tightening the screws to force the crank onto the taper. Take the opportunity to add pedal extenders when moving your pedals to the new crankset.
What’s Next?
Go for a test ride, of course. Hills should already be more manageable. The next step is to replace the cassette – the pyramid of gears on the rear wheel. After that, the fixes become increasingly more complex – and expensive. Sign up for my newsletter, and I will let you know when I have finished articles that will help.
In Conclusion
Add to the comments below if you have some suggestions or criticisms of my methods. All information is good information.